Getting Started
Welcome to the Meshtastic Apple app — your iOS, iPadOS, and macOS companion for off-grid mesh radio communication.
What You Need
- A supported Meshtastic LoRa radio device (see meshtastic.org)
- iPhone, iPad, or Mac with the Meshtastic app installed
- Bluetooth enabled on your device
Step 1: Power On Your Radio
Turn on your Meshtastic radio. Most devices show a splash screen and begin broadcasting on the mesh immediately.
Step 2: Open the App and Connect
- Open the Meshtastic app.
- Tap Connect (the antenna icon in the tab bar).
- Your radio should appear in the nearby devices list within a few seconds.
- Tap the device name to connect.
The connection indicator turns green when the radio is paired and communicating.
Tip: If your device does not appear, make sure Bluetooth is enabled in iOS Settings and that the radio is within range (roughly 10 metres for initial pairing).
First-Launch Setup
The first time you open the app, a short guided setup walks you through the permissions Meshtastic uses, in order. Each screen explains what the permission is for, and you can change any of these later in iOS Settings. Granting a permission or tapping Continue advances to the next step.
1. Bluetooth — required to discover and connect to your radio.

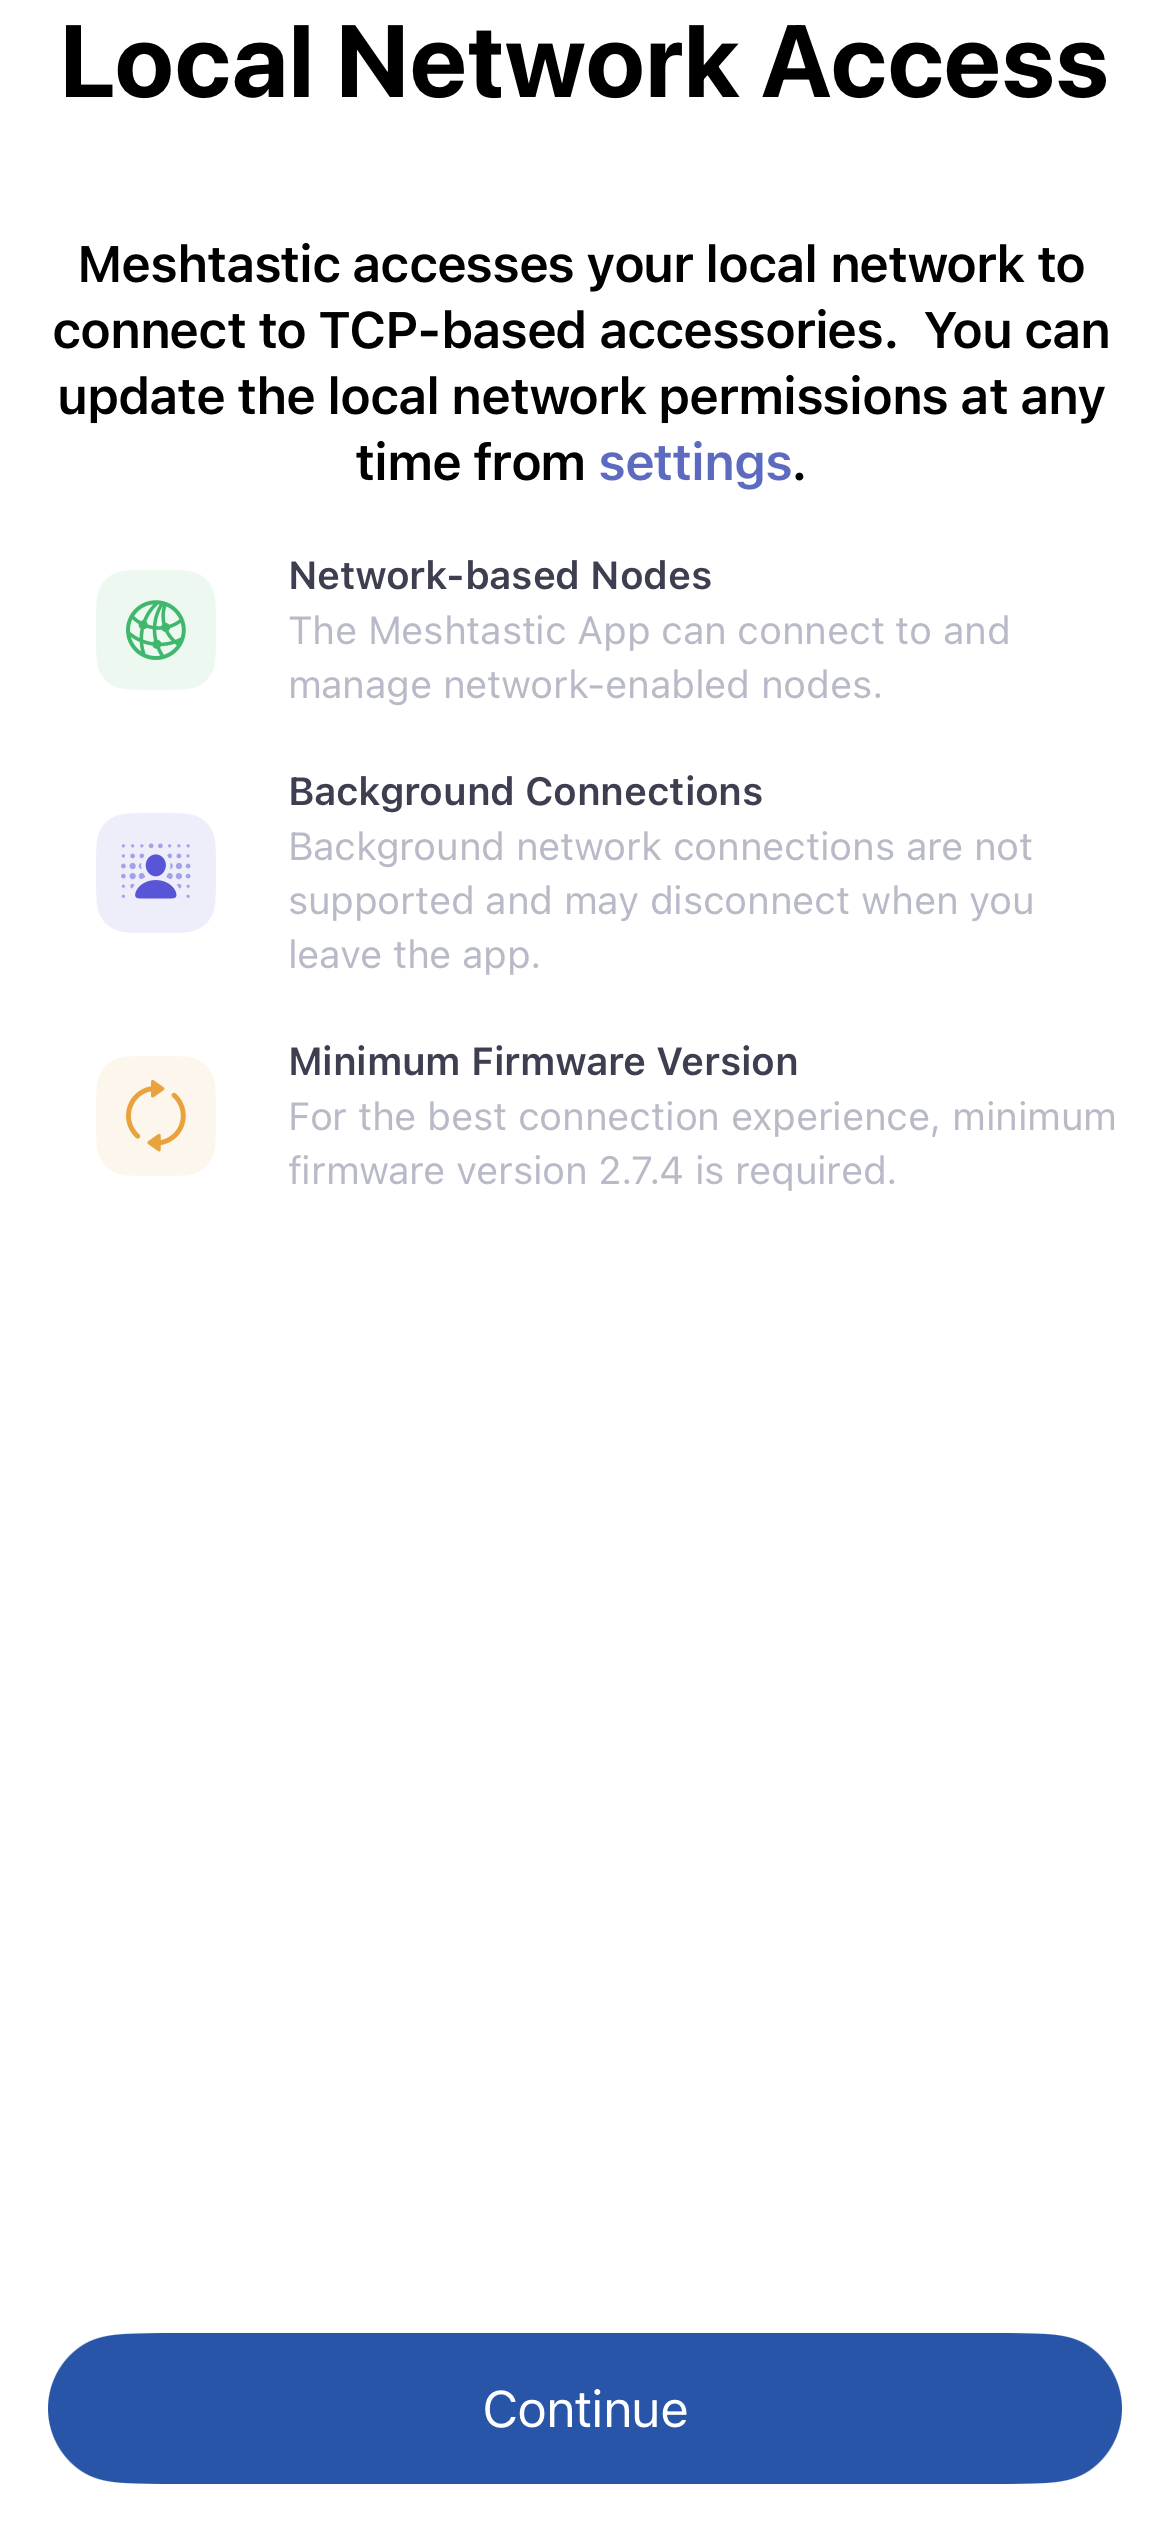
2. Local Network — lets the app find radios connected over WiFi or Ethernet.
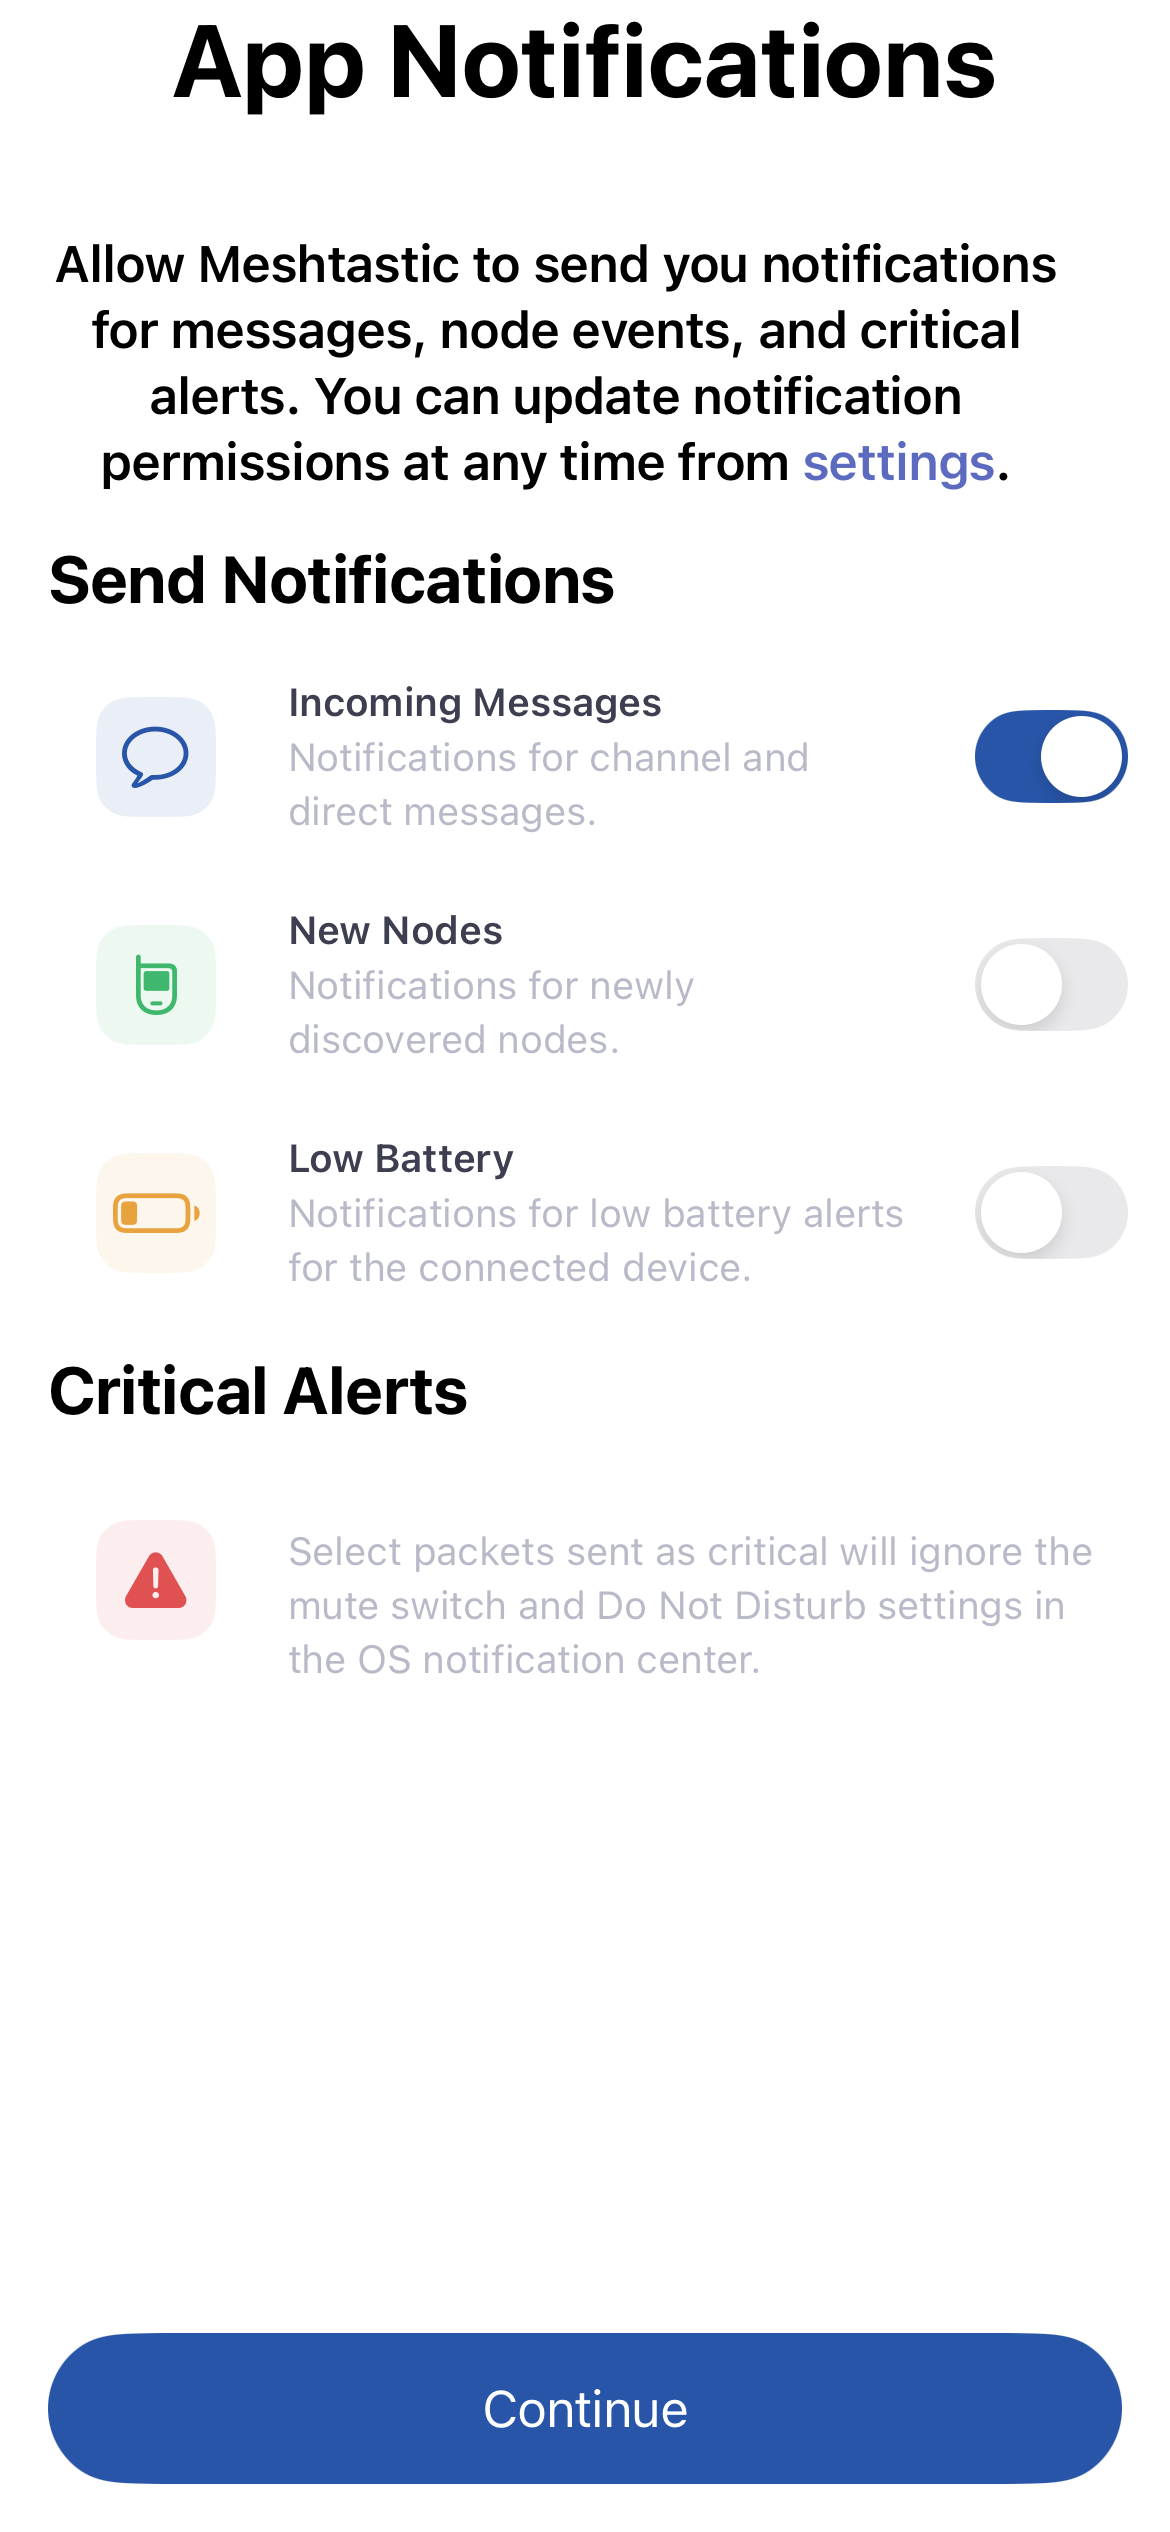
3. Notifications — toggle which alerts you want before granting permission: incoming messages, new nodes, low battery, and critical alerts that bypass silent mode and Do Not Disturb.
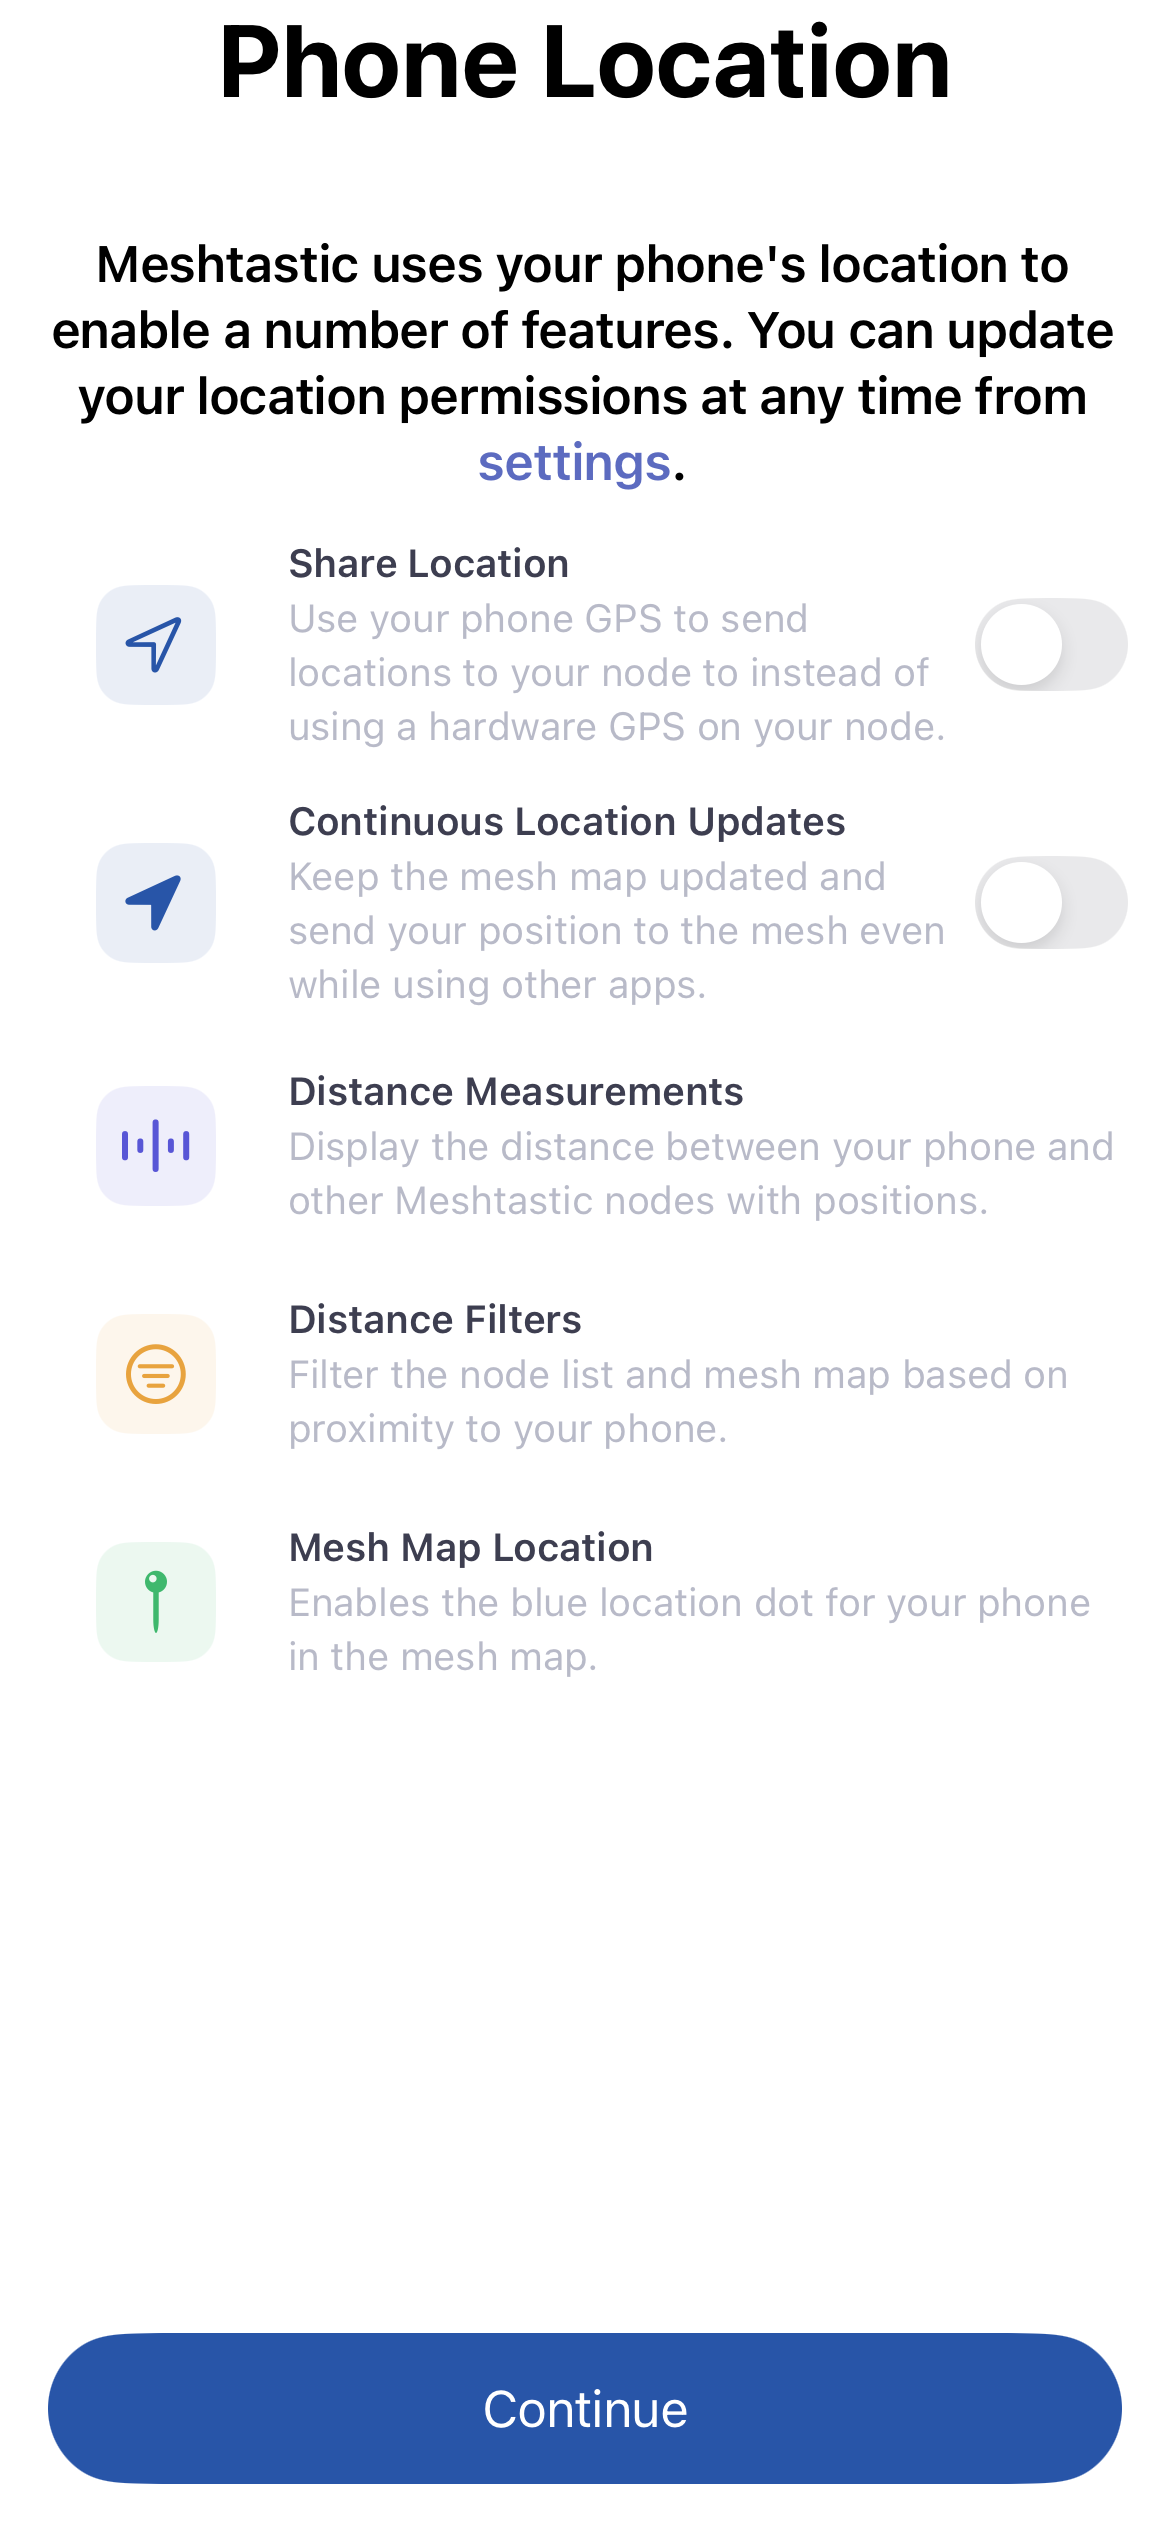
4. Location — optional; lets your phone supply position to the mesh and keep the map updated in the background. This step is skipped if you have already granted location access.
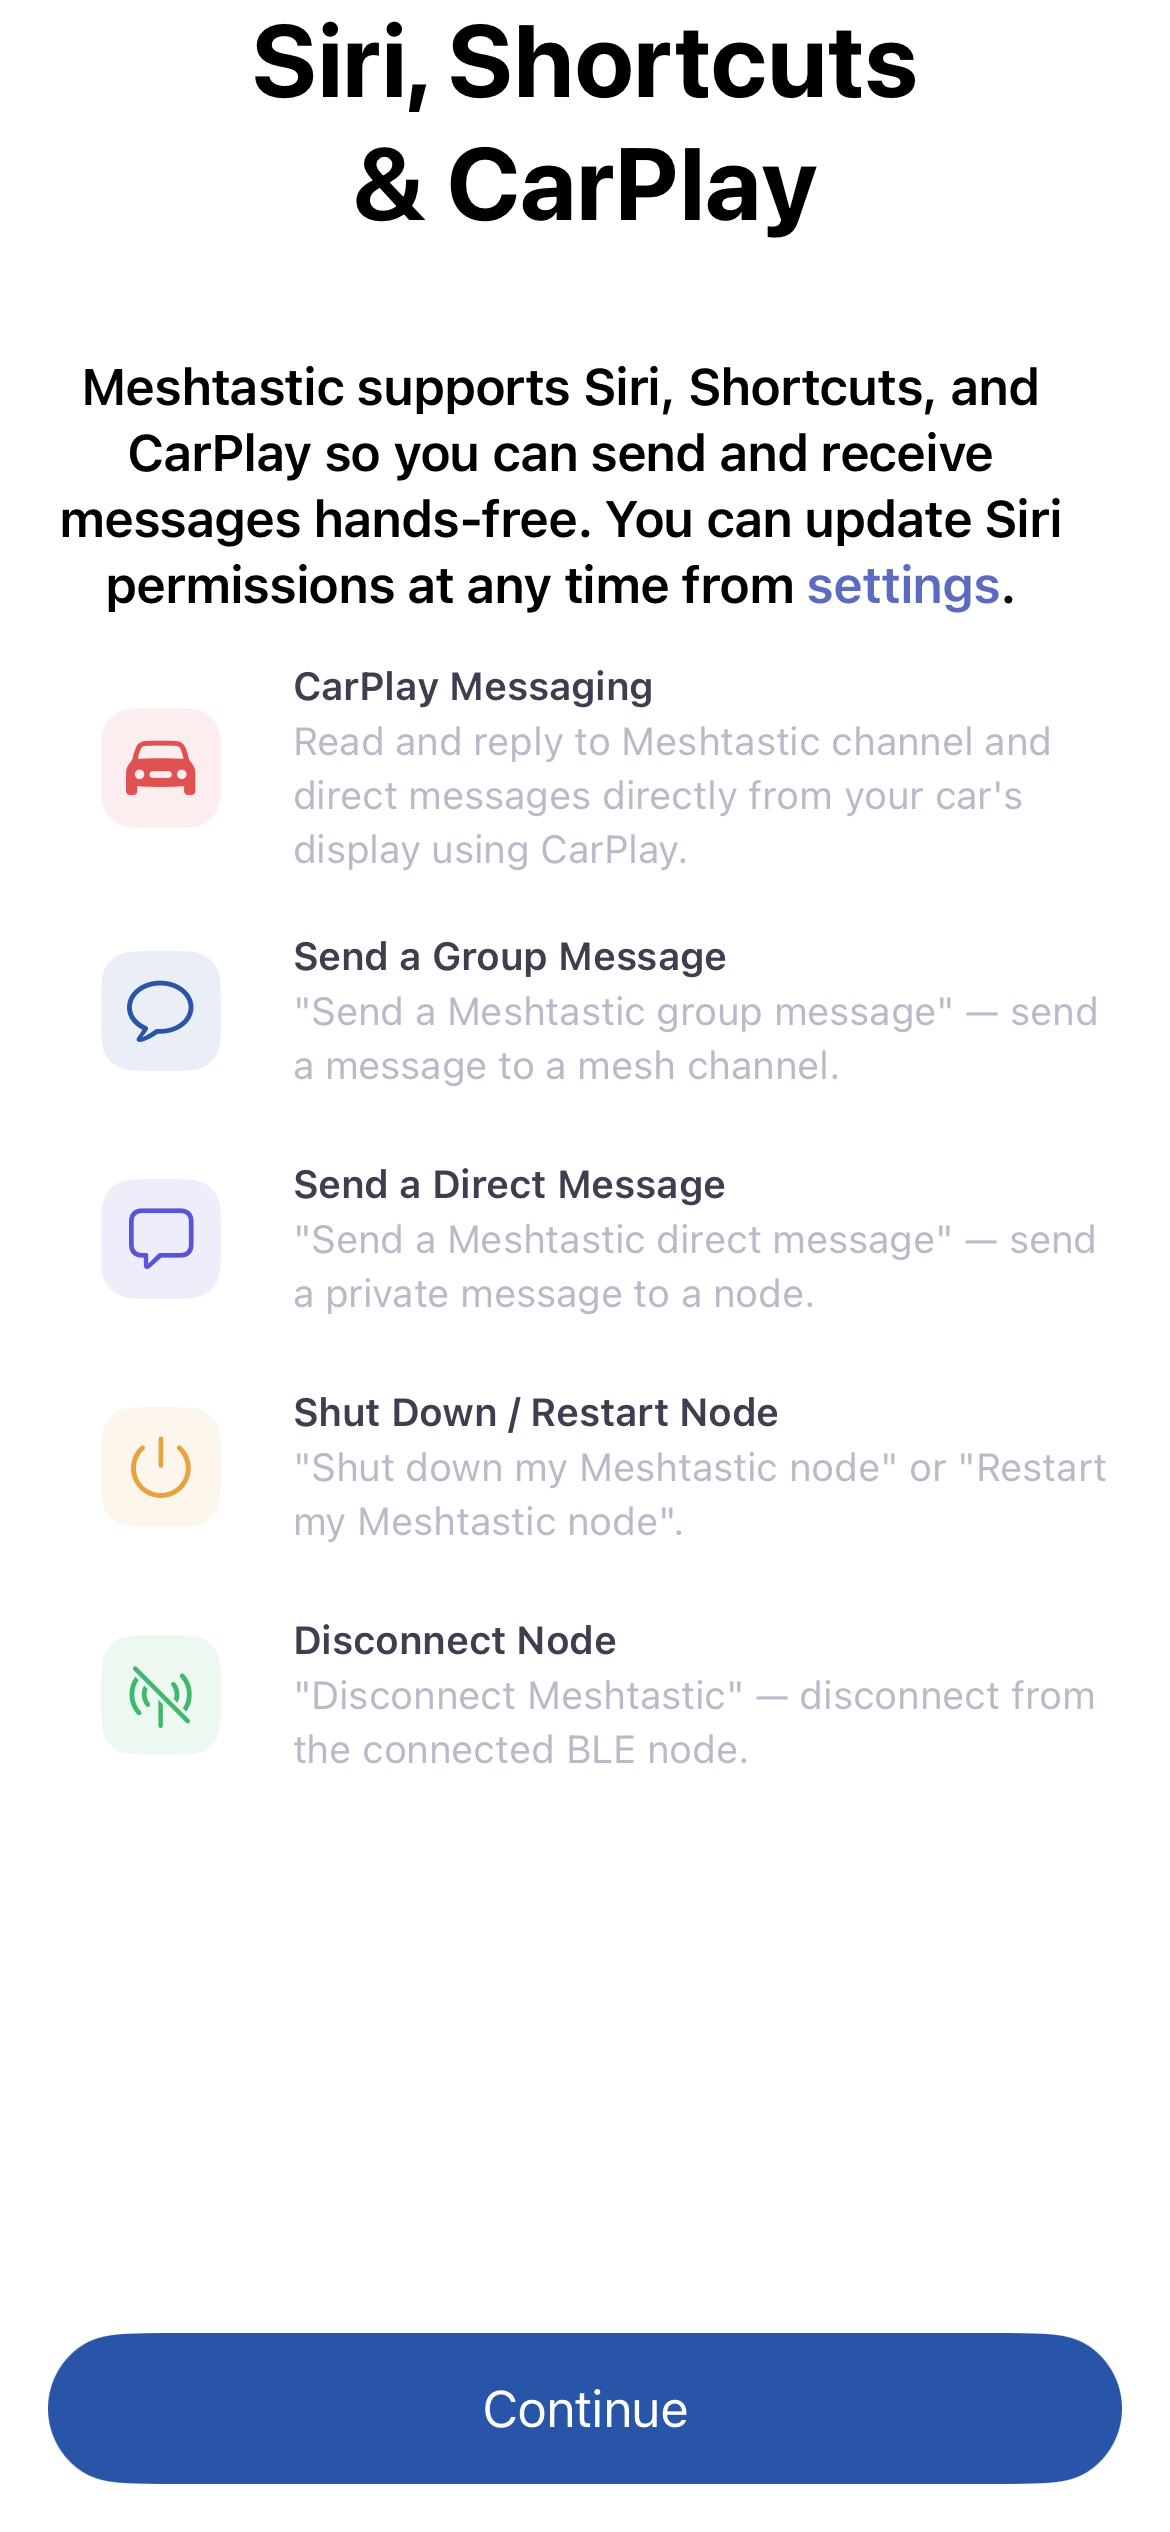
5. Siri & Shortcuts — optional; enables voice commands and CarPlay messaging.
Step 3: Set Your Name and Short ID
- Go to Settings → User.
- Enter a Long Name (your display name, up to 39 characters).
- Enter a Short Name (up to 4 characters or an emoji — shown in the node circle).
- Tap Save.
Your name broadcasts to nearby nodes automatically.
Step 4: Explore the Mesh
Once connected, the app shows nearby nodes in the Nodes tab. Tap any node to see details like signal strength, last heard time, and position.
Send your first message by tapping the Messages tab and selecting the primary channel.
Tip — Quick navigation Tap the currently active tab icon to jump back to the top-level view from anywhere in that tab.
Step 5: Check Your Settings
Visit Settings → LoRa to verify your region code matches your location. Using the wrong region is illegal and will prevent communication with other nodes in your area.
Next Steps
- Bluetooth Device Connection — manage multiple radios
- Messages & Channels — send broadcasts and direct messages
- Nodes List — understand node status indicators
- Map & Waypoints — see the mesh on a map